
Last updated November 4, 2026
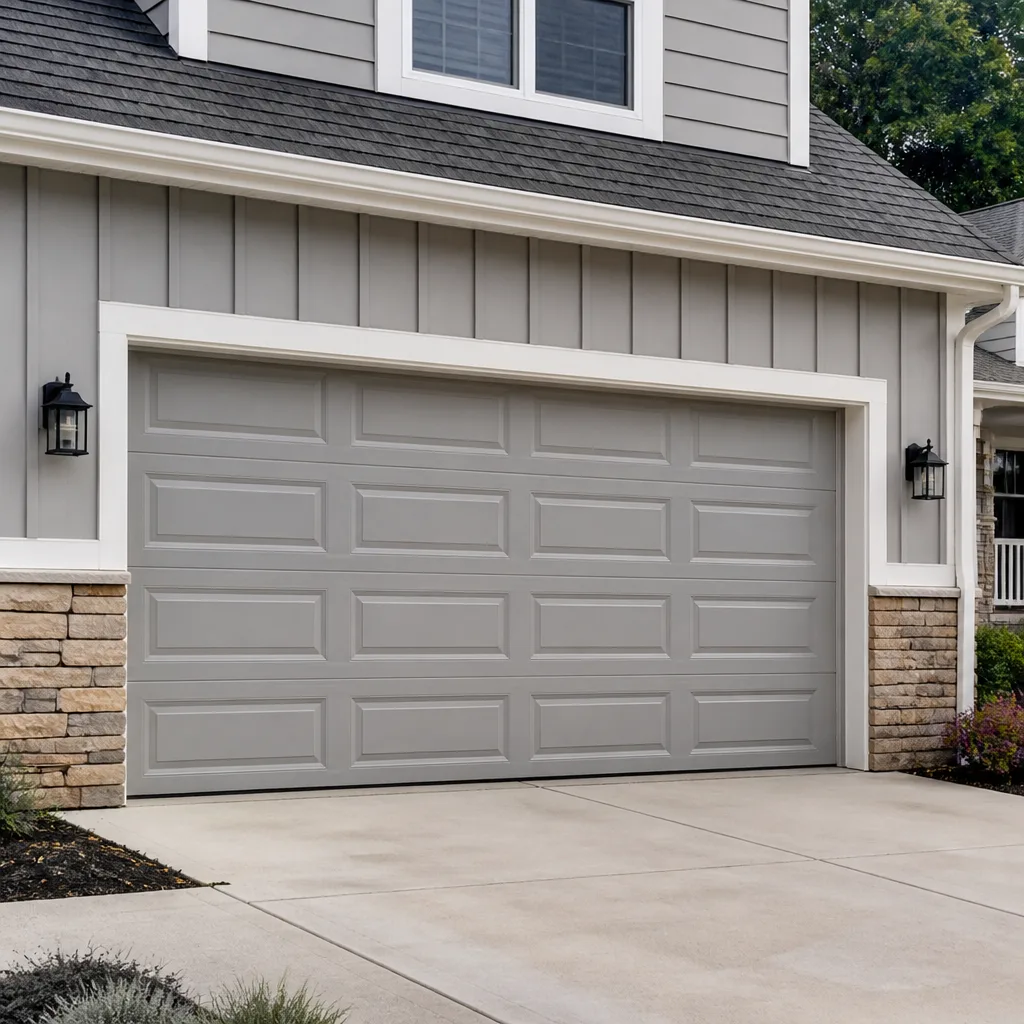 Raised-panel steel
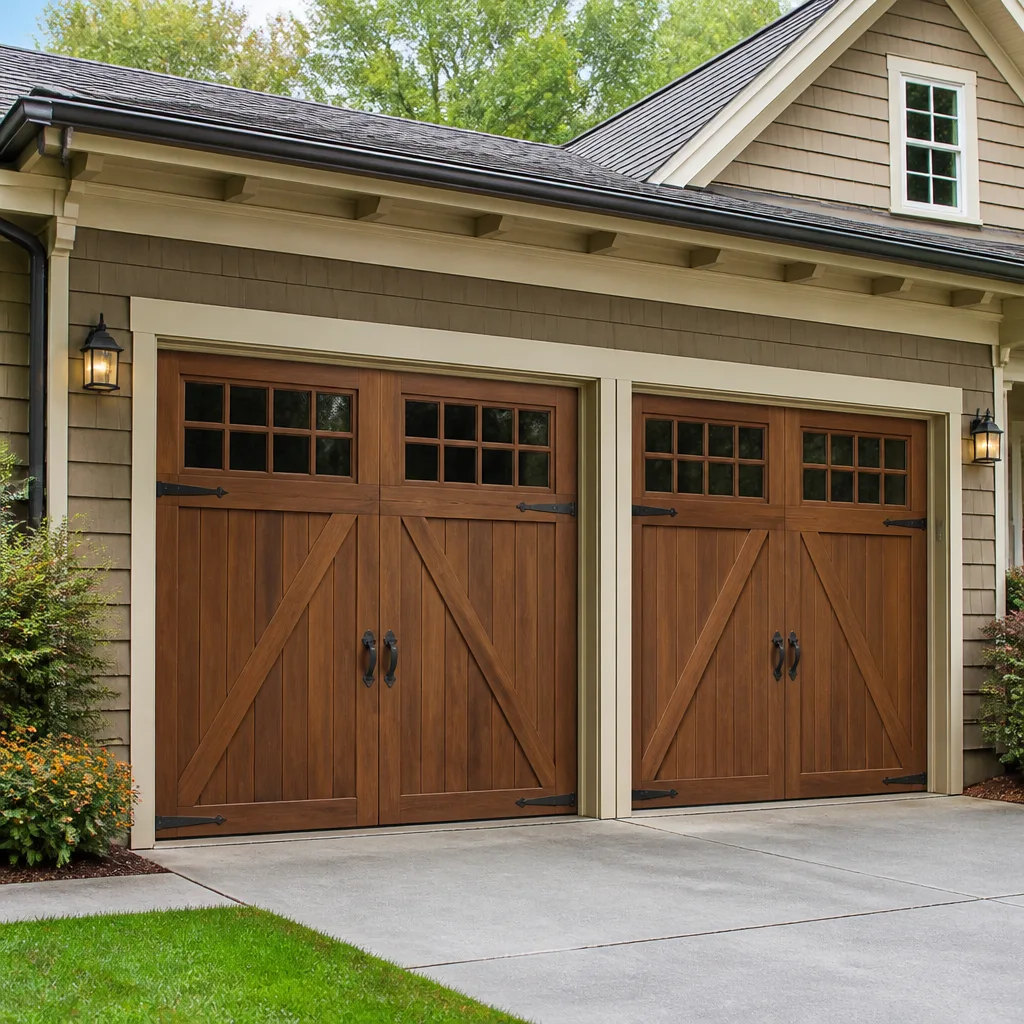 Carriage house
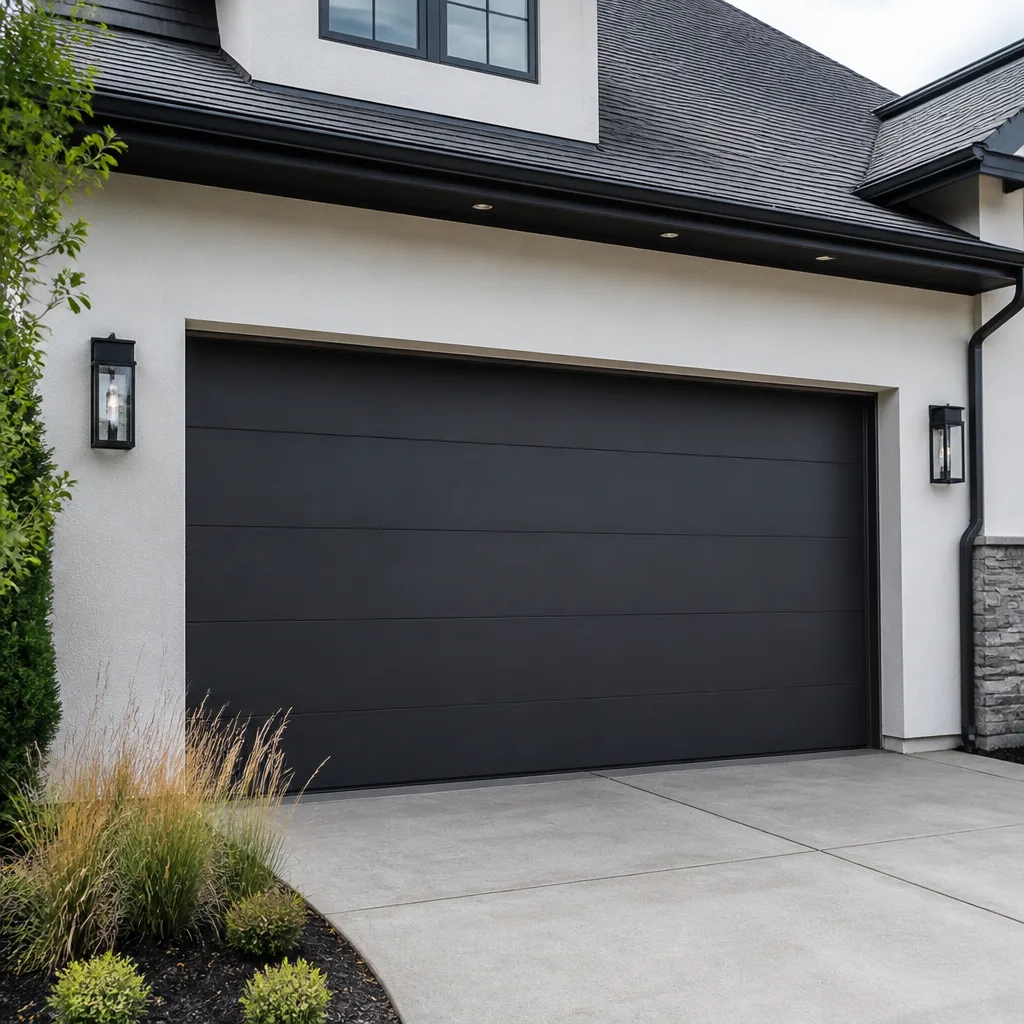 Modern flush
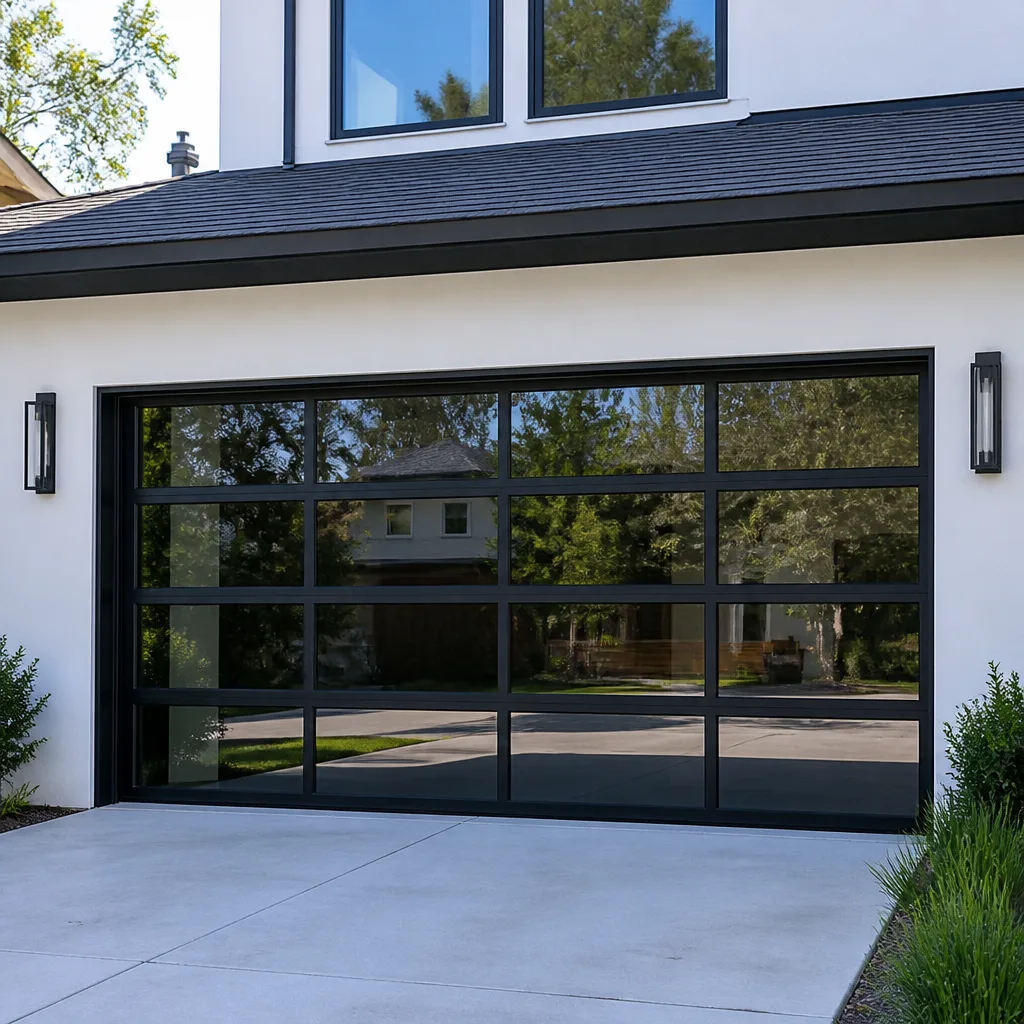 Full-view glass
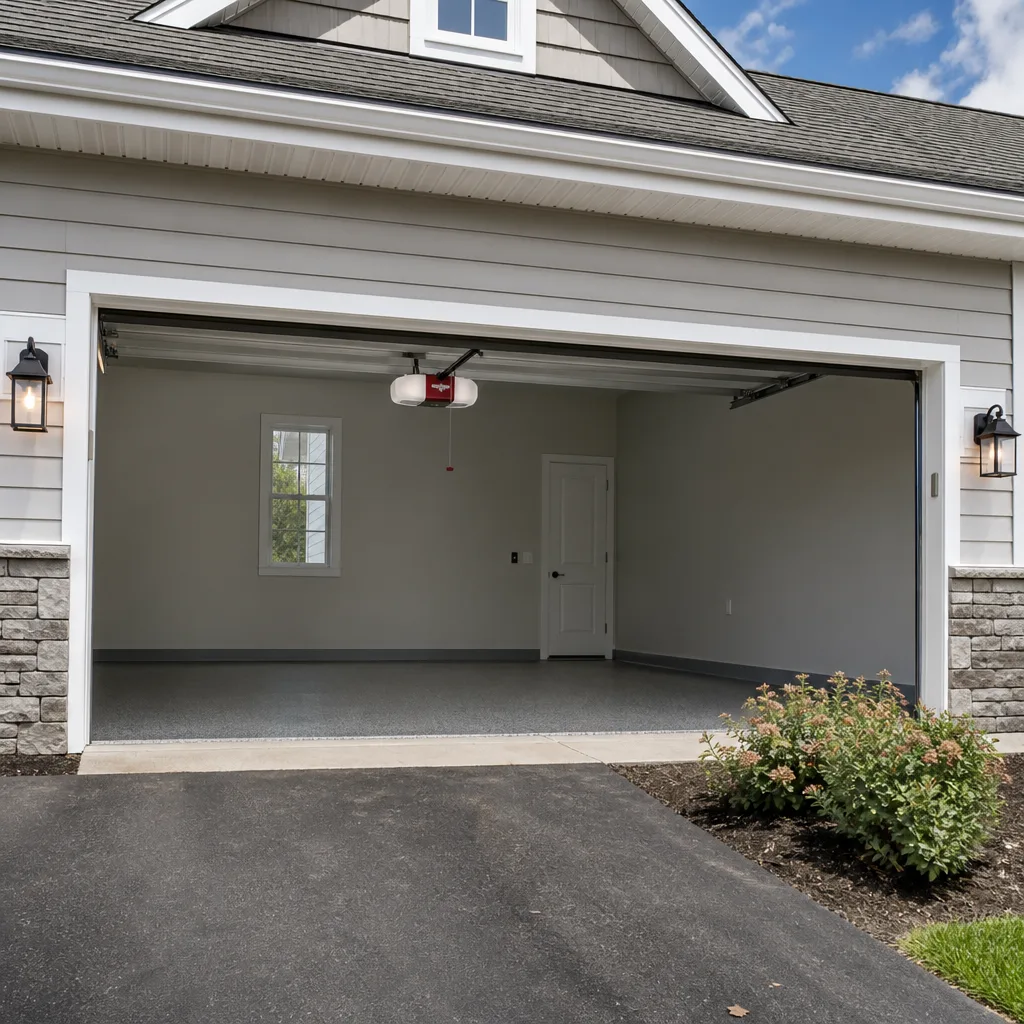 LiftMaster openers
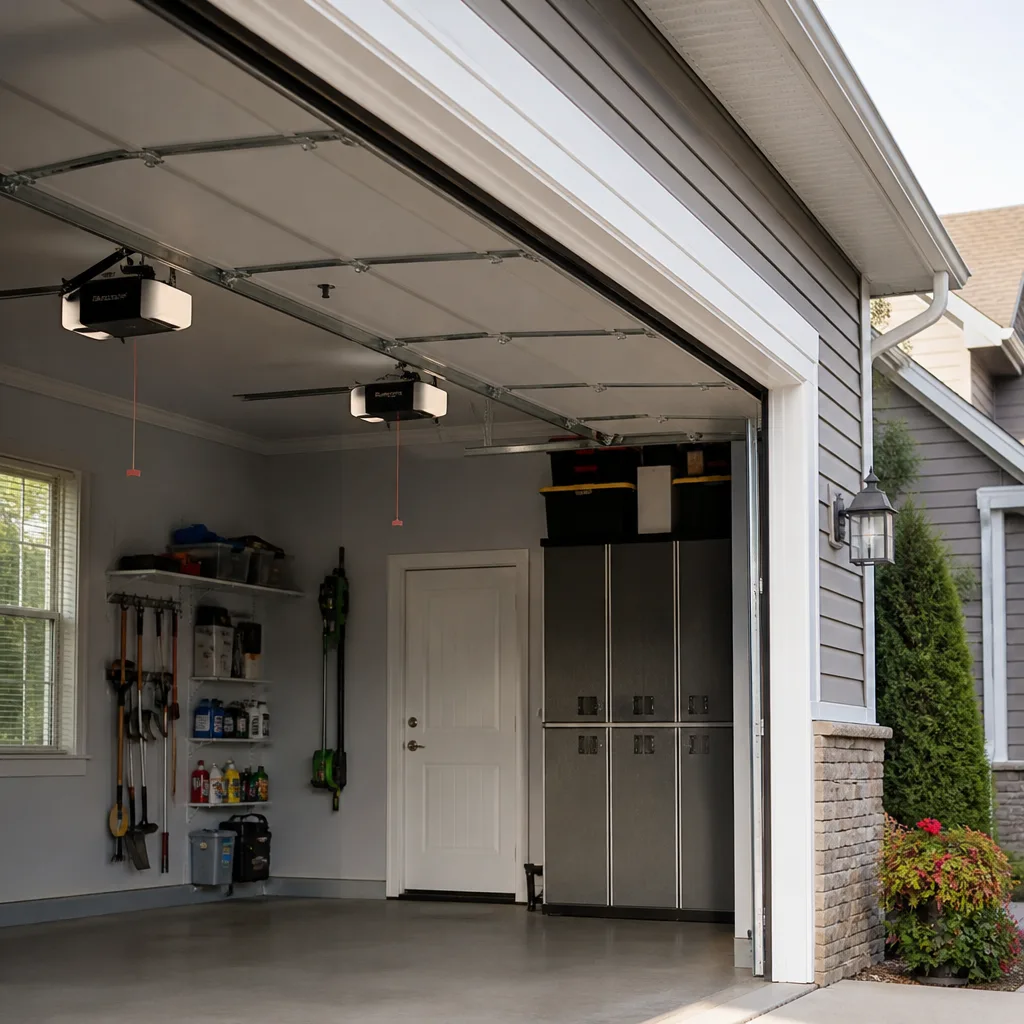 Chamberlain openers
Full 25-point door and opener safety check with every visit - springs, cables, rollers, tracks, and your LiftMaster or Chamberlain opener included
You get a price before we start. It does not change when the truck arrives.
Get your free estimateDIY vs Professional Garage Door: The San Carlos Homeowner’s Decision Guide
Most DIY guides start with the wrong question. They ask whether you’re handy enough to fix a garage door. The real question is more specific: which parts of this system are designed to be owner-serviced, and which parts carry enough stored energy or legal weight that no amount of YouTube confidence makes them safe to touch. In San Carlos, where a garage often doubles as a workshop, a gym, or the main entry point to the house, a door that works poorly isn’t a minor annoyance. It’s a daily disruption. This guide draws a hard line between what a capable homeowner can do and what should always go to a specialist. You’ll learn where the danger actually lives, what California code says about DIY work, and when paying a pro is genuinely cheaper than the alternative.
Quick Answer
DIY work on a garage door in San Carlos is safe only for low-risk maintenance tasks: replacing weatherstripping, lubricating rollers and hinges, and realigning photo-eye sensors. Anything involving torsion springs, extension springs, lift cables, or structural panel replacement should go to a licensed professional, both because of injury risk and because California code restricts certain work to licensed contractors. The cost difference between a careful DIY job and a professional repair is often smaller than people expect once tools and time are factored in, and the real savings from DIY comes from catching small issues early, not from tackling dangerous repairs yourself.
Styles & brands we work with
- Raised-panel steel
- Carriage house
- Modern flush
- Full-view glass
- LiftMaster openers
- Chamberlain openers
Table of Contents
- The Physics of Danger: What Makes a Garage Door Different
- What a San Carlos Homeowner Can Safely DIY
- What You Should Never DIY: Springs, Cables, and Panels
- California Code and Permit Rules for San Carlos DIY Work
- The Real Tool and Knowledge Cost of DIY Garage Door Work
- DIY vs Professional: An Honest Cost Comparison
- Liability and Insurance: What Unlicensed Work Means in San Mateo County
- Why Brand Fluency Matters More Than You Think
The Physics of Danger: What Makes a Garage Door Different
A garage door looks simple from the outside. A big panel, some rollers, a track, maybe an opener overhead. But the simplicity is deceptive. The average residential garage door weighs between 130 and 180 pounds. You can lift it by hand only because the spring system is doing most of the work. That’s the part most people miss: the spring is not a convenience feature. It’s a counterweight that balances the entire door. When that spring is under tension, it’s storing enough energy to lift the door in about one second. If it releases that energy suddenly, into a hand, a wrist, or a face, the result is not a sprain. It’s broken bones, severed tendons, or worse.
Every experienced garage door technician in San Carlos can describe the same scenario: a homeowner with good intentions, a socket wrench, and no spring winding bars. The spring tension releases mid-turn. The bar spins. The homeowner’s hand is in the path. None of this is meant to scare you away from understanding your door. It’s meant to explain why the line between DIY and professional work exists where it does. The line is not about skill. It’s about stored energy and the tools required to manage it safely.
What a San Carlos Homeowner Can Safely DIY
There are a handful of garage door maintenance tasks that are genuinely appropriate for a homeowner to handle. These tasks require no specialized tools beyond what most San Carlos households already have in a basic toolbox, and they carry no meaningful risk of injury when done carefully. The key is understanding that these tasks are maintenance, not repair. You’re preserving the system, not changing its tension or load-bearing components.
Here’s the definitive list of what’s safely DIY:
- Replacing bottom weatherstripping. The rubber strip along the bottom of the door wears out every few years, especially on San Carlos homes where garages face the street and get daily sun exposure. A replacement strip costs $20 to $60 and installs with no more than a utility knife and patience.
- Lubricating rollers, hinges, and tracks. Use a silicone-based or lithium-based spray lubricant, not WD-40. Spray the roller bearings, the hinge pivot points, and the track where the rollers travel. Do this once or twice a year. A quiet door is a happy door.
- Realigning photo-eye sensors. If your opener’s safety sensors get bumped by a garbage can or a bike, the door may refuse to close or reverse immediately. Loosen the wing nut on the sensor bracket, point the sensor so the indicator light stays solid, and retighten. This is a five-minute fix that often prevents an unnecessary service call.
- Tightening loose hardware. Doors vibrate thousands of times a year. Bolts on the track brackets and hinges work their way loose. Check them seasonally with the correct size socket or wrench. Do not overtighten; snug is enough.
- Cleaning and inspecting the tracks. Wipe the inside of the vertical and horizontal tracks with a dry cloth. Look for obvious dents, rust, or misalignment. If you see damage, call a professional rather than trying to bend the track back yourself.
None of these tasks require you to touch the springs or cables. That’s the boundary line. Stay on the maintenance side of it and you can keep your door running smoothly between professional service visits.
What You Should Never DIY: Springs, Cables, and Panels
Now for the part of the guide that will not be popular with the most confident DIYers. There are three components of a garage door system that should never be serviced by anyone without professional training and the correct tools. In San Carlos, where many homes have garages dating back to the 1950s and 1960s, these components are often older and even less forgiving than they were when new.
Torsion springs
Torsion springs are mounted horizontally above the door opening. They are wound under extreme tension. The springs store enough energy to lift the full weight of the door, and that energy is always there, even when the door is closed and the opener is unplugged. Replacing a torsion spring requires winding bars specifically sized to the spring’s hub, and the process involves turning the spring while it’s under progressively increasing load. If a winding bar slips, it becomes a projectile. If your hand is near it, the result can be catastrophic. This is not a task where carefulness compensates for inexperience. The energy release is instantaneous and unforgiving.
Extension springs and cables
Older San Carlos homes sometimes still have extension spring systems, which run along the horizontal tracks. These springs stretch and contract with the door’s movement. When an extension spring snaps, the broken end can fly across the garage with enough velocity to embed itself in drywall or a car door. The lift cables that run alongside the springs are under similar tension. A frayed cable can snap without warning and whip through the air. Both components require the door to be fully secured and the tension to be systematically released before any work begins.
Structural panels and tracks
Panel replacement sounds straightforward: unbolt the old panel, bolt in the new one. But the bottom panel is the point where the cables attach to the door. Removing it without releasing cable tension can cause the cables to unwind violently. Track replacement or realignment is less dangerous but still requires precise adjustment to keep the door balanced. A door that’s even slightly out of balance will strain the opener motor and wear out the new parts prematurely.
If you strip away everything else, the rule is simple: if the component is under tension, or if it’s the attachment point for something under tension, it belongs to a professional.
California Code and Permit Rules for San Carlos DIY Work
San Carlos is in San Mateo County, which operates under California state building standards. The question of what a homeowner can legally do themselves is governed by state law, not by YouTube confidence. California’s Contractors State License Board requires any construction or improvement work valued at $500 or more in combined labor and materials to be performed by a licensed contractor. That threshold catches most garage door replacements and many significant repairs.
There are narrow exceptions for work done by the owner of a single-family residence, but those exceptions exist primarily for owner-occupied homes and do not extend to work performed by a paid handyman who lacks a license. A handyman charging $50 to replace a torsion spring is not legally doing you a favor if something goes wrong. They’re exposing you to liability.
Permit requirements in San Carlos vary by project scope. A full garage door replacement in an existing opening typically does not require a structural permit, since the opening itself is not being modified. But if the job involves moving the door, changing the opening size, or altering any load-bearing element, a permit from the city’s building department is required. The safest approach is to ask the building department directly before starting any structural work. The answer is usually available in one phone call.
Electrical work on the opener falls under the California Electrical Code. A homeowner may replace an existing opener that plugs into an existing outlet, but any new wiring, new circuits, or hardwired connections must be done by a licensed electrician or a contractor pulling the appropriate permits. The convenience of a smart opener with a new ceiling outlet doesn’t justify bypassing the electrical permit process.
The practical takeaway for San Carlos homeowners: the maintenance tasks listed above are legal DIY territory. Spring replacement, cable work, and most structural repairs fall into a gray zone that, at best, complicates a future home sale and, at worst, creates real legal exposure if an injury occurs.
The Real Tool and Knowledge Cost of DIY Garage Door Work
One of the most common reasons homeowners attempt spring replacement or cable work is cost. They see the price of a professional repair and assume DIY will be cheaper. But the math doesn’t hold up when you look honestly at the tools and learning required.
Replacing a torsion spring safely requires a matched pair of winding bars, which cost $30 to $60 for a basic set. You’ll also need a socket set with deep well sockets, a sturdy step ladder, locking pliers, and potentially a new spring with the correct wire size, inside diameter, and length for your door. Get any of those specifications wrong and the door won’t balance. It may shoot up, refuse to open fully, or strain the opener until it burns out.
Then there’s the knowledge cost. A professional technician has installed and repaired hundreds of spring systems. They know how to measure the spring dimensions, count the coils, and identify the winding direction from the end of the spring. They know what happens when a spring is wound half a turn too far. A homeowner learning these things for the first time is doing so on a component that can sever a finger in a fraction of a second. The financial savings disappear quickly when you account for the tools you’ll never use again and the very real possibility that you’ll do the job incorrectly and pay a professional anyway to undo and redo the work.
Even for the safe DIY tasks, the tool investment is modest but real. A tube of silicone lubricant is $10 to $15. A roll of bottom weatherstripping is $20 to $60. A basic socket set is $25 to $80 if you don’t already own one. These are reasonable investments for a homeowner maintaining a door. They’re not comparable to the specialized equipment required for tension work.
DIY vs Professional: An Honest Cost Comparison
Let’s put actual numbers on the table. These are typical ranges for the San Carlos market, not firm quotes. Your specific door, brand, and condition will determine the final written estimate.
| Task | DIY Cost (Tools + Parts) | Professional Cost (Typical) | Verdict |
|---|---|---|---|
| Weatherstripping replacement | $20 – $60 | $90 – $180 | DIY is sensible |
| Lubrication and seasonal tune-up | $10 – $20 | $80 – $150 per visit | DIY for lubrication; pro for full tune-up |
| Photo-eye sensor realignment | $0 (existing tools) | $75 – $125 | DIY first; call if it persists |
| Single torsion spring replacement | $30 – $60 in tools plus $60 – $120 per spring (risk of injury and error) | $180 – $340 per spring | Professional always |
| Extension spring pair replacement | $25 – $50 in tools plus $50 – $100 per spring (risk of injury) | $200 – $350 total | Professional always |
| Full door panel replacement | Not feasible for one person without risking cable tension | $400 – $1,200 depending on panel and door size | Professional always |
| Complete door replacement | Not legal above $500 combined without a contractor license | $1,500 – $4,000 depending on door and hardware | Professional, licensed contractor required |
The pattern is clear. The tasks where DIY actually saves money are the low-risk maintenance items. The tasks where DIY looks cheaper on paper, like spring replacement, carry an enormous hidden cost: the risk of a serious hand or face injury, the cost of correcting an improperly balanced door, and the reality that an incorrect spring installation will eventually destroy the opener motor. A $500 opener isn’t cheap to replace.
There’s also the matter of diagnostic accuracy. When a door is noisy or won’t close, the cause is not always obvious. A binding roller can mimic a spring problem. A failing opener gear can mimic a door balance issue. In our experience, a significant share of professional service calls involve correcting a DIY attempt that treated the symptom rather than the cause. The savings from a misdiagnosed DIY repair can turn negative very quickly.
Liability and Insurance: What Unlicensed Work Means in San Mateo County
Here’s the part of the DIY conversation that almost no one talks about until it’s too late. If you do a repair on your own garage door and something later fails, that’s on you. But if you pay an unlicensed handyman to do that repair and the door later collapses on a car, or the spring snaps and injures a family member, the legal and insurance picture becomes very complicated.
California law requires contractors performing work over $500 to hold a license from the Contractors State License Board. An unlicensed individual doing this work is operating illegally. If they’re injured on your property, your homeowner’s insurance may deny the claim because the work was performed in violation of state law. If the repair fails and causes property damage, your insurer may deny that claim for the same reason.
In San Mateo County, homeowners are generally expected to use licensed, insured professionals for work that exceeds the legal threshold. This isn’t about being cautious. It’s about protecting yourself from a financial outcome that no amount of upfront savings could justify. When you hire a licensed garage door specialist, you’re transferring the liability for the repair to an insured professional. When you DIY or hire an unlicensed person, you keep that liability yourself.
This is one of the clearest arguments for professional work on springs, cables, and full replacements. The cost of the repair is a known number. The cost of a denied insurance claim or an injury lawsuit is not.
Why Brand Fluency Matters More Than You Think
One underappreciated factor in the DIY vs professional decision is the complexity introduced by the opener and door brands. A homeowner walking into a big box store to buy a replacement part will typically find universal-fit components. Universal parts rarely fit perfectly. They’re designed to fit most doors adequately, not your door specifically.
A specialist, by contrast, works with the system the customer already owns. Rockport Garage Door Repair services products from LiftMaster, Chamberlain, Genie, Clopay, Amarr, Wayne Dalton, Craftsman, and Raynor. That brand coverage matters because a LiftMaster opener from 2008 has different diagnostic codes, different travel limits, and different bearing assemblies than a Genie from 2019. The repair is not interchangeable.
We’ve also seen homeowners order the wrong spring by measuring the wrong dimension, which leaves a new spring that’s wound either too strong or too weak for the door. The result is a door that never balances, an opener that burns out prematurely, and a spring that fails early. The brand and model of the door determine the spring specifications down to the half-inch. This is precisely the kind of detail that separates a generalist from a garage door specialist.
If you have a Raynor door with a Chamberlain opener and a Clopay weatherseal, you’re running a mixed system. That’s normal. But it means the next repair has to account for three different manufacturers’ specs. A specialist with fluency across those brands can do that. A homeowner with a universal part from a hardware store is guessing. From the spring to the opener, the system is only as reliable as its least-understood component.
Opener Repair: The Overlooked Middle Ground
Between the safe DIY maintenance tasks and the never-DIY spring and cable work sits the garage door opener. This is the part where homeowners are most likely to misjudge the difficulty. An opener is a motor, a logic board, a drive mechanism, and a set of safety sensors. It’s an electromechanical system, not just a motor hanging from the ceiling.
Some opener issues are genuinely DIY-friendly. If the opener runs but the door doesn’t move, the disconnect cord may have been pulled. Reconnecting it is usually a simple operation. If the remote stopped working, changing the battery or reprogramming the remote is straightforward. If the door reverses immediately after touching the floor, the close-force setting may need adjustment, which is documented in the opener manual.
But other opener issues are not DIY-friendly. A grinding noise from the motor housing often means the drive gear has stripped, which requires opening the opener housing and replacing internal components. A door that opens on its own, or an opener that doesn’t respond to the wall button or the remote, may indicate a logic board failure. Diagnosing a logic board problem without the manufacturer’s diagnostic chart is guesswork, and replacing the wrong component wastes money.
Professionals who specialize in garage door opener repair approach these problems differently than a general handyman. They know the diagnostic codes for each major brand, they carry the specific parts that fail most often, and they can distinguish between a mechanical door problem and an opener problem in minutes. Whether it’s the door, the drive, or the opener, the diagnosis has to come before the fix. Get it diagnosed and fixed in one visit, and the door is back in service the same day.
Seasonal Reality: What San Carlos Weather Actually Does to Garage Doors
San Carlos has a Mediterranean climate: mild, wet winters and warm, dry summers. The garage door problems this climate produces are not the freeze-thaw issues of colder regions or the salt-air corrosion of coastal communities. Here, the dominant wear factors are heat, UV exposure, and the occasional wind-driven debris.
The rubber and plastic components of a garage door are the first to show the effects of San Carlos summers. Weatherstripping becomes brittle and cracks. Rollers with plastic bearings or plastic casings degrade faster than they would in a cooler climate. The nylon bearings inside high-quality rollers will eventually flatten on one side, which causes the door to run rough and noisy.
The steel components are slower to degrade, but they do rust. The combination of winter rain and condensation from temperature swings between warm days and cool nights will eventually find any bare metal that’s lost its paint or galvanized coating. Track brackets, hinge points, and the bottom of the door panel are the usual spots. Catching rust early with a wire brush and a touch of paint is a legitimate DIY task. Letting it spread to the point where a bracket fails is how a minor maintenance item becomes a structural repair.
Hail is uncommon in San Carlos, so hail damage is rarely the cause of panel dents. Impact damage happens, but it’s usually from a car bumper, a basketball, or a poorly aimed skateboard. The point is that San Carlos homeowners should focus their DIY maintenance on UV-exposed rubber and plastic, and on rust prevention at the panel edges. Those are the local wear patterns that actually shorten a door’s life.
Common Mistakes to Avoid
- Using WD-40 on rollers and hinges. WD-40 is a solvent, not a lubricant. It strips away the existing grease and leaves the metal dry. Use a silicone-based or lithium-based lubricant instead.
- Replacing only one torsion spring. Torsion springs are installed as a matched pair. If one has failed, the other is near the end of its life too. Replacing only the broken spring leaves the door unbalanced and guarantees a second service call soon.
- Adjusting spring tension without winding bars. Using screwdrivers or pry bars in the winding cone is a serious injury risk. The cone can slip and the tool can become a projectile. This is the single most dangerous shortcut a homeowner can try.
- Bending a dented track back into shape by hand. A track that’s bent enough to bind the rollers needs to be replaced, not straightened. A DIY track repair that’s even slightly imperfect will strain the opener and wear out the rollers.
- Ignoring a noisy door for months. Noise is a symptom, not a personality trait. A grinding or squealing door is telling you that a roller is failing, a hinge is dry, or a spring is losing tension. The longer it goes, the more expensive the fix.
- Failing to test the auto-reverse safety feature. Since 1993, federal law has required all garage door openers to reverse when they encounter resistance. Place a 2×4 flat on the floor under the door and close it. If the door doesn’t reverse within two seconds of touching the wood, the opener needs professional attention immediately, especially in a household with children or pets.
- Hiring an unlicensed handyman for spring work. The cheapest quote on spring replacement often comes from someone who isn’t licensed and isn’t insured. If they get hurt, or if the repair fails, the legal and insurance consequences land on the homeowner. The math simply doesn’t work.
When to Call a Professional
The decision to call a professional shouldn’t feel like a concession. It’s an acknowledgment that some problems are not worth the risk or the learning curve. Call a garage door specialist when the springs are broken or stretched, when the cables are frayed, when a panel is bent or separated from the rest of the door, when the opener makes grinding noises or refuses to respond, or when your safety reverse test fails. These are not marginal judgment calls. They’re clear signals that the repair involves stored energy, structural integrity, or electrical safety.
For everything else, the lower-risk maintenance tasks are yours to do. Keep the door lubricated, replace the weatherseal when it cracks, and keep the sensors aligned. You’ll extend the life of the door and reduce the frequency of professional service calls. Rockport Garage Door Repair offers free estimates in San Carlos. Call (855) 393-4573 for an honest diagnosis and a written price before any work begins. We answer 24/7. Fast dispatch from 7am to 7pm, Sunday through Friday.
See the difference
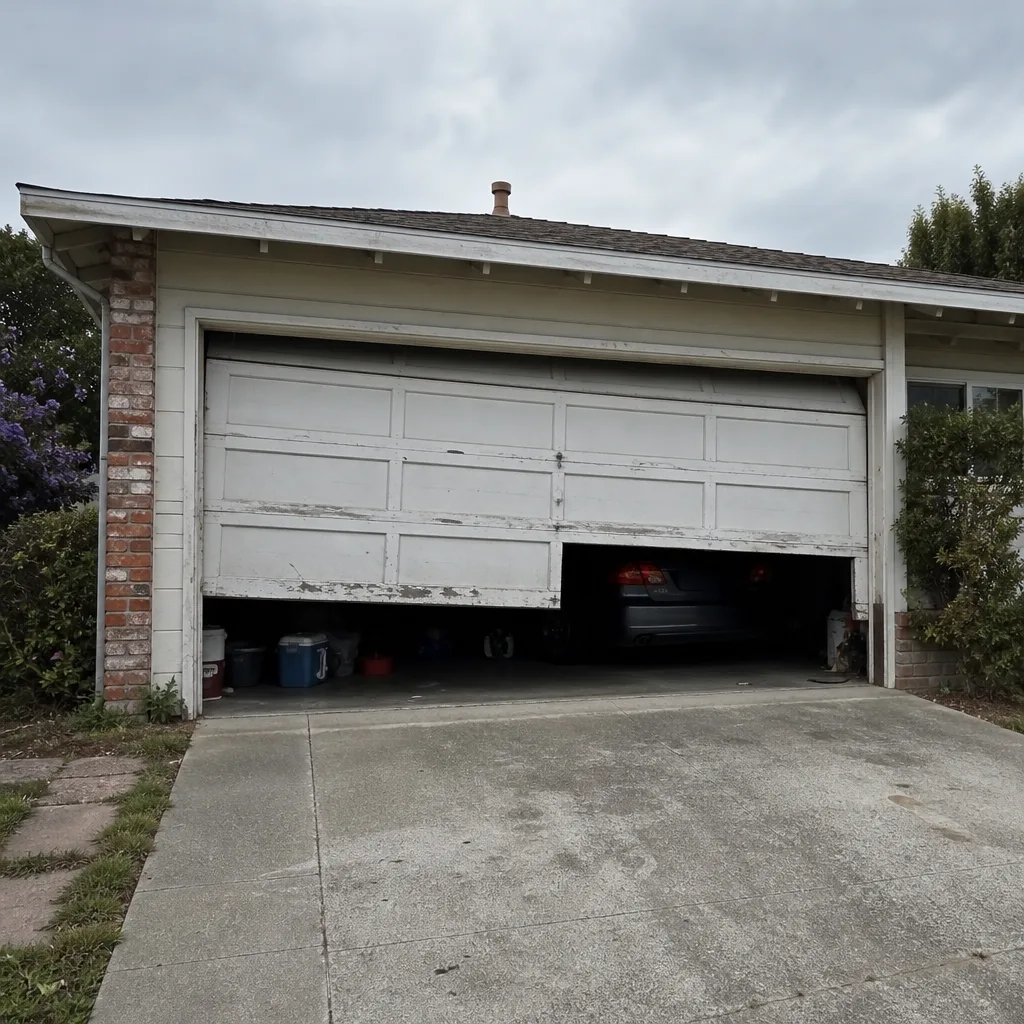 Before
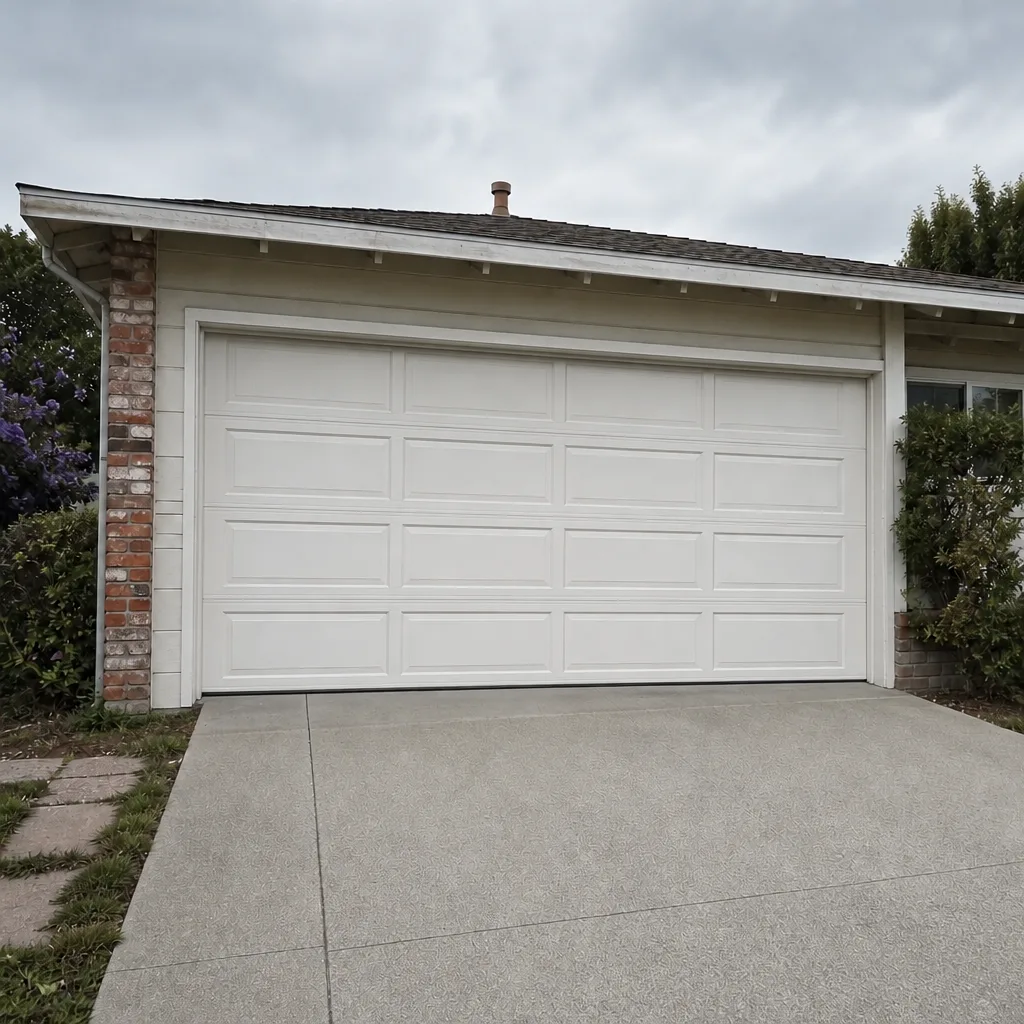 After
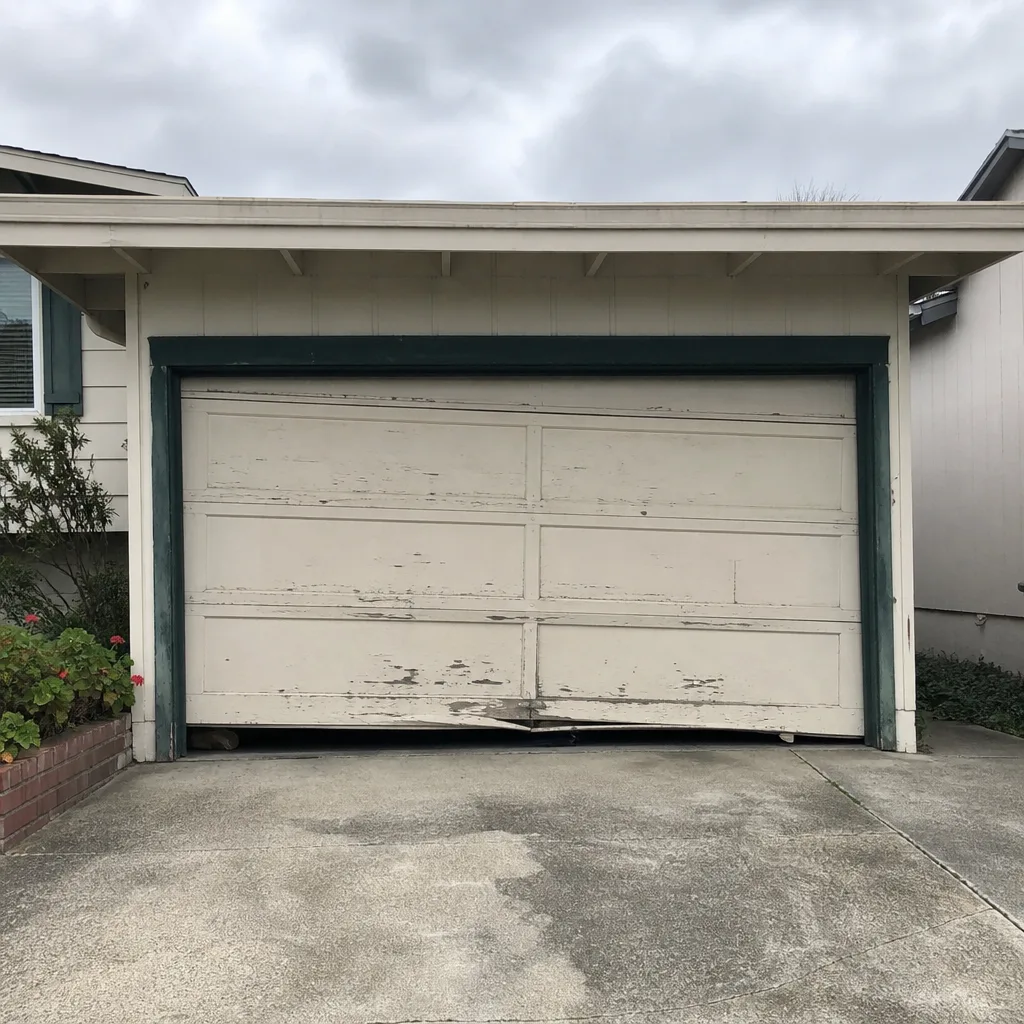 Before
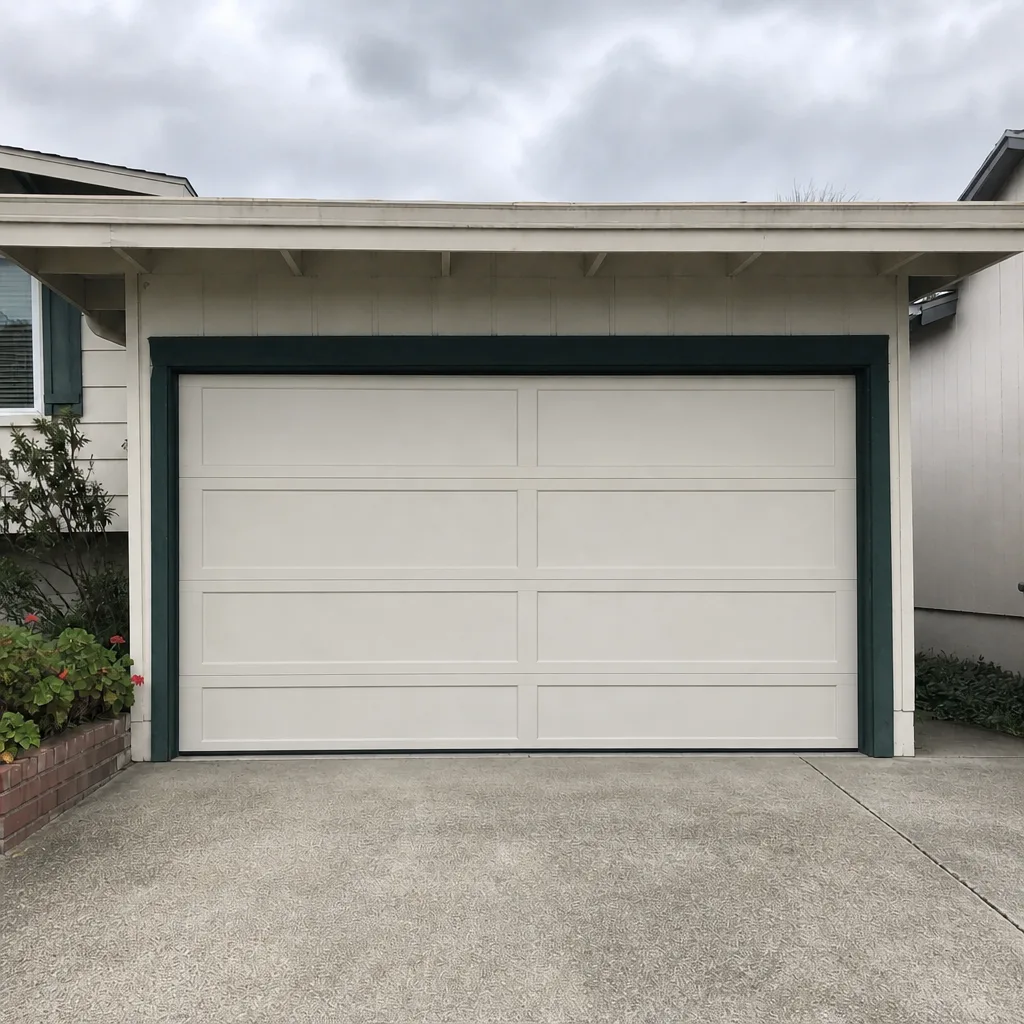 After
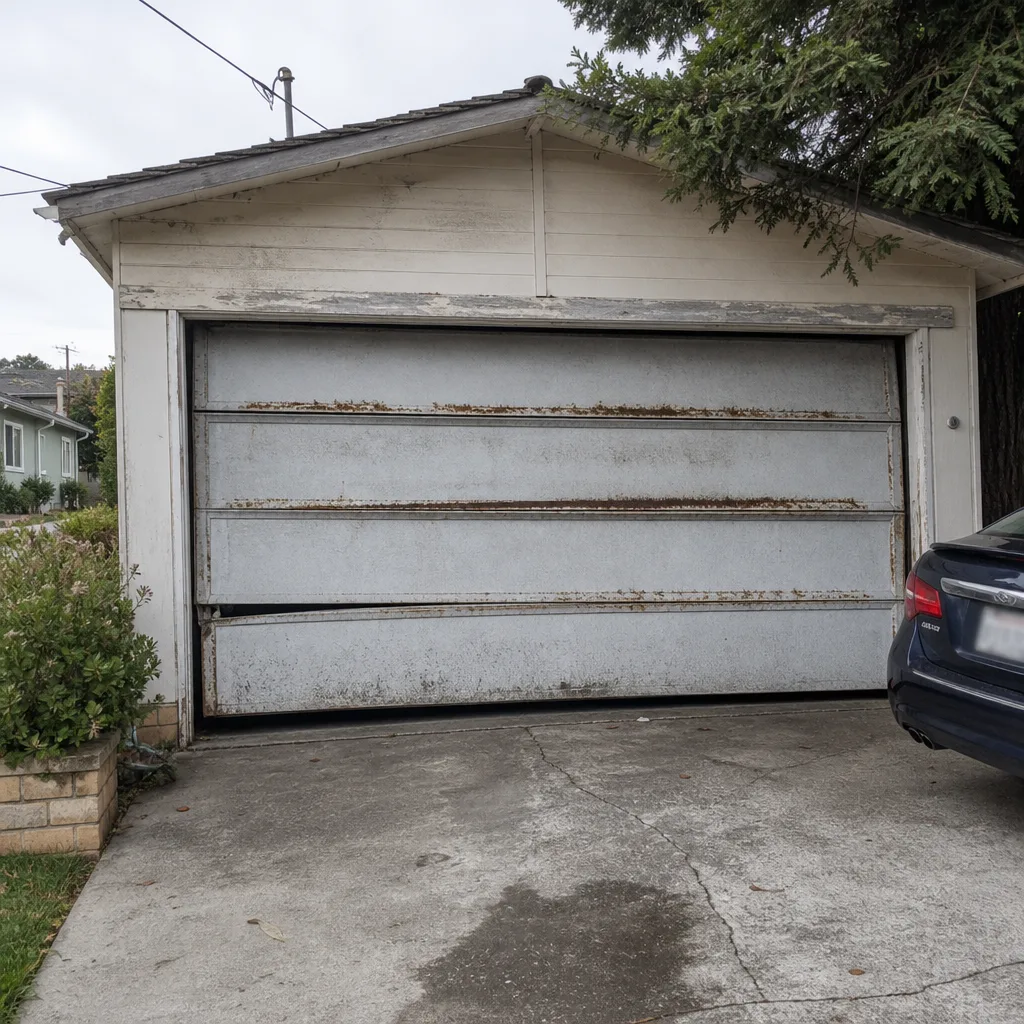 Before
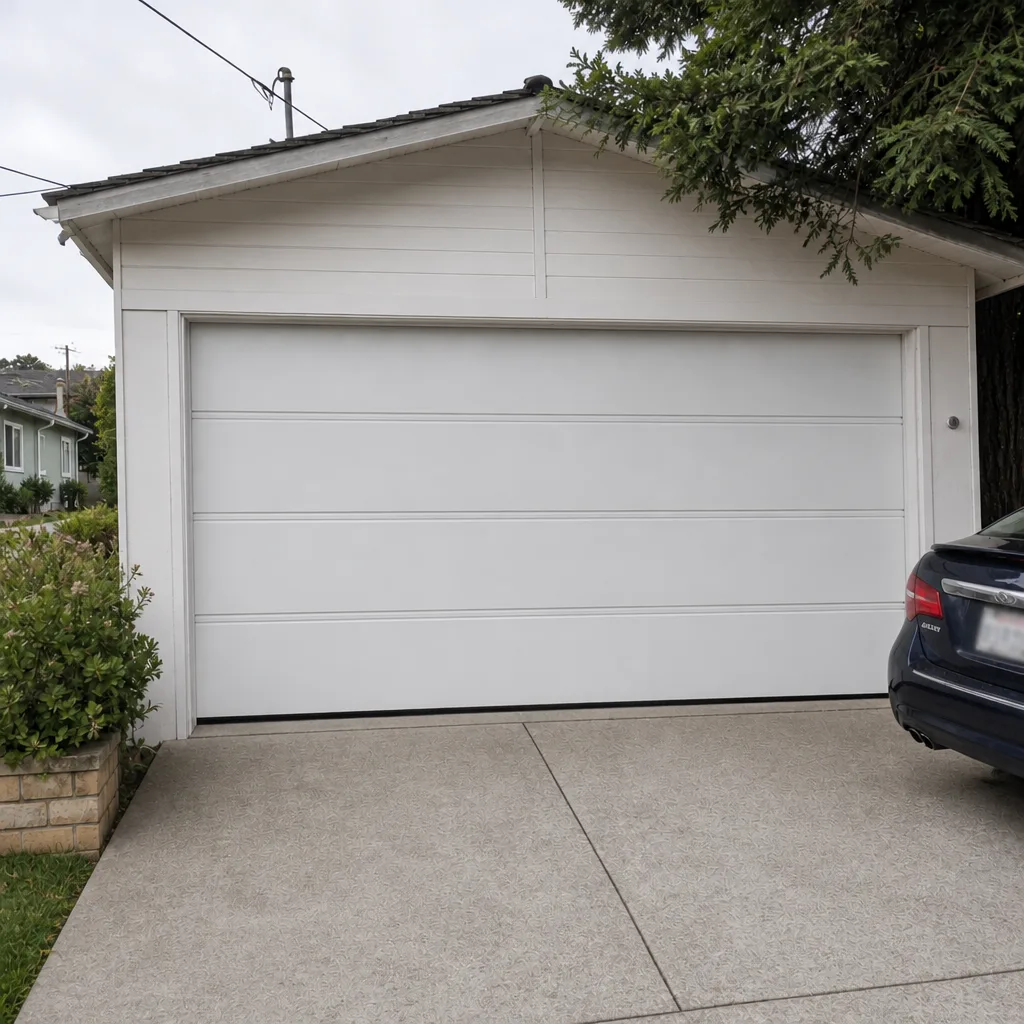 After
Frequently Asked Questions
You can, but you shouldn’t. Torsion springs store enough energy to cause serious hand, wrist, and facial injuries if the spring unwinds unexpectedly. The task requires specialized winding bars and the ability to measure the spring’s wire size, inside diameter, length, and winding direction precisely. Getting any one of those wrong leaves the door unbalanced and can destroy the opener. In San Carlos, most professional spring replacements cost between $180 and $340 per spring, and paying that is substantially cheaper than the medical and repair costs of a failed DIY attempt. Call (855) 393-4573 for an exact quote. Estimates are free.
You can replace the bottom weatherstripping, lubricate the rollers and hinges with a silicone-based spray, realign the photo-eye sensors, tighten loose track and hinge bolts, and clean the tracks. These tasks require no special tools and carry no meaningful risk. None of them involve touching the springs or cables, which is the boundary between safe DIY and dangerous territory.
Most straight replacements of a garage door in the existing opening do not require a structural permit, because the opening itself is not changing. If the project involves moving the door, changing the opening size, or altering any load-bearing element, a permit from the city’s building department is required. California law also requires a licensed contractor for any work valued at $500 or more in combined labor and materials. Ask the San Carlos building department directly before starting any structural work.
Intermittent operation usually points to one of three causes: a failing logic board in the opener, a photo-eye sensor that’s gradually losing alignment, or a door balance problem that’s causing the opener to strain and occasionally trip its safety limit. The first step is to check the sensors and make sure nothing is in the path of the beam. If the sensors are clean and aligned, the opener itself likely needs professional diagnosis. A specialist in garage door repair can test the opener, the door balance, and the safety system in one visit.
Typical repair costs in San Carlos range from $90 to $180 for minor fixes like weatherstripping or sensor realignment, $180 to $340 for a single torsion spring replacement, and $400 to $1,200 for panel replacement. A full door replacement typically runs $1,500 to $4,000 depending on the door size, brand, and hardware. The written estimate is the final word on price, and it’s always quoted and agreed before any work starts. Call (855) 393-4573 for a free estimate.
California law requires any contractor performing work over $500 in combined labor and materials to hold a license from the Contractors State License Board. Spring replacement often falls above that threshold. Hiring an unlicensed handyman exposes you to liability if the repair fails or if the worker is injured on your property. Homeowner’s insurance may deny claims related to unlicensed work. The legal and financial protection of hiring a licensed specialist is worth more than the small upfront savings.
The Bottom Line
The DIY vs professional garage door decision is not a referendum on your mechanical aptitude. It’s a question of where the actual risk lives. In San Carlos, the safe DIY zone includes weatherstripping, lubrication, sensor alignment, and routine inspection. The never-DIY zone includes springs, cables, and structural panels, both for injury risk and for the legal exposure of unlicensed work. A professional who works across multiple brands can diagnose the whole system, from the spring to the opener, in one visit. For the dangerous stuff, the cheapest option is the one that doesn’t send anyone to the emergency room or the courthouse. The rest? Keep the door lubricated, watch for rust at the panel edges, and test the auto-reverse feature. That’s the work that’s honestly yours to do.
Written by the team at Rockport Garage Door Repair, serving San Carlos since 2014.